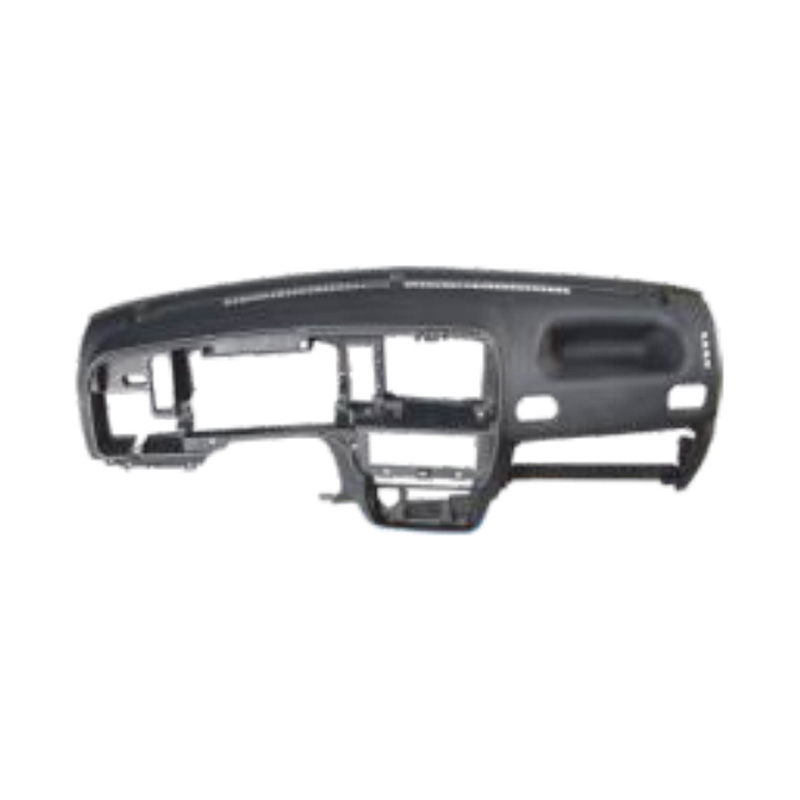
Injection moulding is the backbone of mass-producing high-quality, consistent molded automotive parts—from tiny sensors to large dashboard panels. Each step in the process is critical to ensuring car part mold performance, minimizing defects, and meeting the strict standards of the automotive industry. Below are the key steps that define successful injection moulding of automotive parts, with a focus on optimizing efficiency and part quality.
1. Design and Engineering: Lay the Foundation for car part mold and Molded Automotive Parts
The first step sets the stage for reliable injection moulding automotive parts production. It involves two core sub-steps:
-
- Part Design for Manufacturability: Engineers design molded automotive parts with injection moulding in mind—incorporating proper wall thickness (to avoid warping), draft angles (for easy part release), and fillets (to reduce stress points). This ensures the part can be efficiently produced and fits its automotive function.
- Car part mold Design: A high-precision car part mold is engineered to match the part’s design. Molds are typically made from hardened steel or aluminum, with cavities that mirror the part’s shape. Cooling channels are integrated into the car part mold to control temperature, a key factor in preventing defects in molded automotive parts. Poor mold design here can lead to costly rework later, making this step non-negotiable for mass production.

2. Material Selection: Match Polymers to Injection Moulding Automotive Parts Needs
Choosing the right material directly impacts the performance of molded automotive parts and the longevity of the car part mold. This step includes:
-
- Assess Part Requirements: For injection moulding automotive parts, materials are selected based on the part’s role—e.g., heat-resistant polymers (like PPS) for engine components, or impact-resistant plastics (like ABS) for interior trim. Each material has unique melting points and flow properties.
- Test Material Compatibility: The chosen polymer must work with the car part mold’s design. For example, abrasive materials may wear down a car part mold faster, requiring harder mold steels. Compatibility ensures smooth material flow during injection, reducing defects in molded automotive parts and extending the car part mold’s lifespan.
3. Car part mold Preparation and Setup: Calibrate for Consistency
Before production begins, the car part mold must be properly prepared to ensure uniform injection moulding automotive parts. Key sub-steps include:
-
- Mold Cleaning and Inspection: The car part mold’s cavities and channels are cleaned to remove debris, which could cause blemishes in molded automotive parts. Inspectors check for wear or damage—even small scratches in the car part mold can transfer to parts.
- Machine and Mold Alignment: The car part mold is mounted onto the injection moulding machine and aligned to ensure the mold closes evenly. This prevents flash (excess plastic) on molded automotive parts and protects the car part mold from damage during clamping.
4. Injection Moulding Process Execution: Produce First-Run Molded Automotive Parts
This is the core step where raw polymer is transformed into injection moulding automotive parts. It breaks down into:
-
- Material Melting and Injection: Polymer pellets are fed into the machine, melted, and injected under high pressure into the car part mold’s cavities. Pressure and temperature are closely monitored—too much pressure can damage the car part mold, while too little can leave cavities unfilled.
- Cooling and Solidification: The car part mold’s cooling channels circulate coolant, rapidly solidifying the molten plastic into molded automotive parts. Cooling time is precise: too short, and parts may warp; too long, and production slows. This balance is critical for mass-producing consistent injection moulding automotive parts.
5. Part Ejection and Post-Processing: Refine Molded Automotive Parts
Once the plastic solidifies, the process moves to finishing the molded automotive parts:
-
- Ejection: The car part mold opens, and ejector pins gently push the molded automotive parts out. Ejection force is calibrated to avoid damaging parts or the car part mold—fragile injection moulding automotive parts (like sensor housings) require softer ejection.
- Trimming and Quality Checks: Excess plastic (e.g., sprue or runner) is trimmed from molded automotive parts. Each part is inspected for defects (cracks, warping, or incomplete filling) to ensure it meets automotive standards. Defects here often signal issues with the car part mold or process parameters, which are adjusted immediately.
6. Production Monitoring and car part mold Maintenance: Sustain Mass Production
To keep injection moulding automotive parts consistent over thousands of cycles, ongoing monitoring and maintenance are essential:
-
- Real-Time Process Monitoring: Sensors track temperature, pressure, and cycle time during production. Any deviations are flagged to prevent defects in molded automotive parts and protect the car part mold.
- Regular car part mold Maintenance: After every 50,000–100,000 cycles, the car part mold is disassembled, cleaned, and lubricated. Worn components (like seals or ejector pins) are replaced to ensure the car part mold continues to produce high-quality injection moulding automotive parts. Neglecting maintenance shortens mold life and increases production downtime.
By following these steps, manufacturers can reliably mass-produce durable, precise molded automotive parts. Each phase—from design to maintenance—centers on optimizing the car part mold and injection process, ensuring that every injection moulding automotive part meets the safety and performance demands of modern vehicles.
 English
 中文简体
中文简体


